Saturday, November 19

Coffeeneuring #6


The end date of the Coffeeneuring Challenge 2016 is midnight tomorrow, Sunday 20th November. It was creeping up on me and I had almost given up, thinking I hadn't got time to complete the 7 rides necessary. However, when I  thought about it I realized I could just do it, even though it meant doing 3 in a row - allowed by the rules, as it would be 5 and 6 this week and then the 7th tomorrow i.e. next week!

Yesterday's, #5, was at the Vale and Downland Museum in Wantage. Today's was again in Wantage but different, as this was "Coffee without Walls" i.e. not in a cafe. There's a bit of a temptation when out cycling to indulge in something full of calories and sugar, but today I thought - time to make something equally delicious but not so sugary, to take with me, so in the morning I made these (dead easy) spelt flour soda bread muffins, from a recipe that I originally got from Woman's Hour.

Then I thought - Youngest Son and girlfriend might like some of these so I did my long route into Wantage, met him outside the pub where he'd gone to watch football to hand some over, then cycled off to do some shopping. 


Soda Bread Muffins


Recently there has been a lot of talk about take away cups not being recyclable, which is awful given how many millions get used once and then thrown away, and so I bought one of the re-usable ones that Waitrose sell for £3 and can now enjoy, guilt-free, their free drinks. I just have to remember to take it with me.....

After shopping, I got my free coffee, wedged it in my rack bag and then walked slowly across the market place to the parish church, hoping the contents wouldn't spill...... which they did a bit but nothing disastrous.

Surely they could make the cups so that you can close off the top completely - like babies' ones do?

I sat on the bench eating my cheese filled soda bread muffin (yes it is in the middle of the muffin even though it looks as if the muffin is just sitting on top!) and drinking my coffee.


This is the view from the bench. It's a great place to people watch as lots of people walk past on this path.


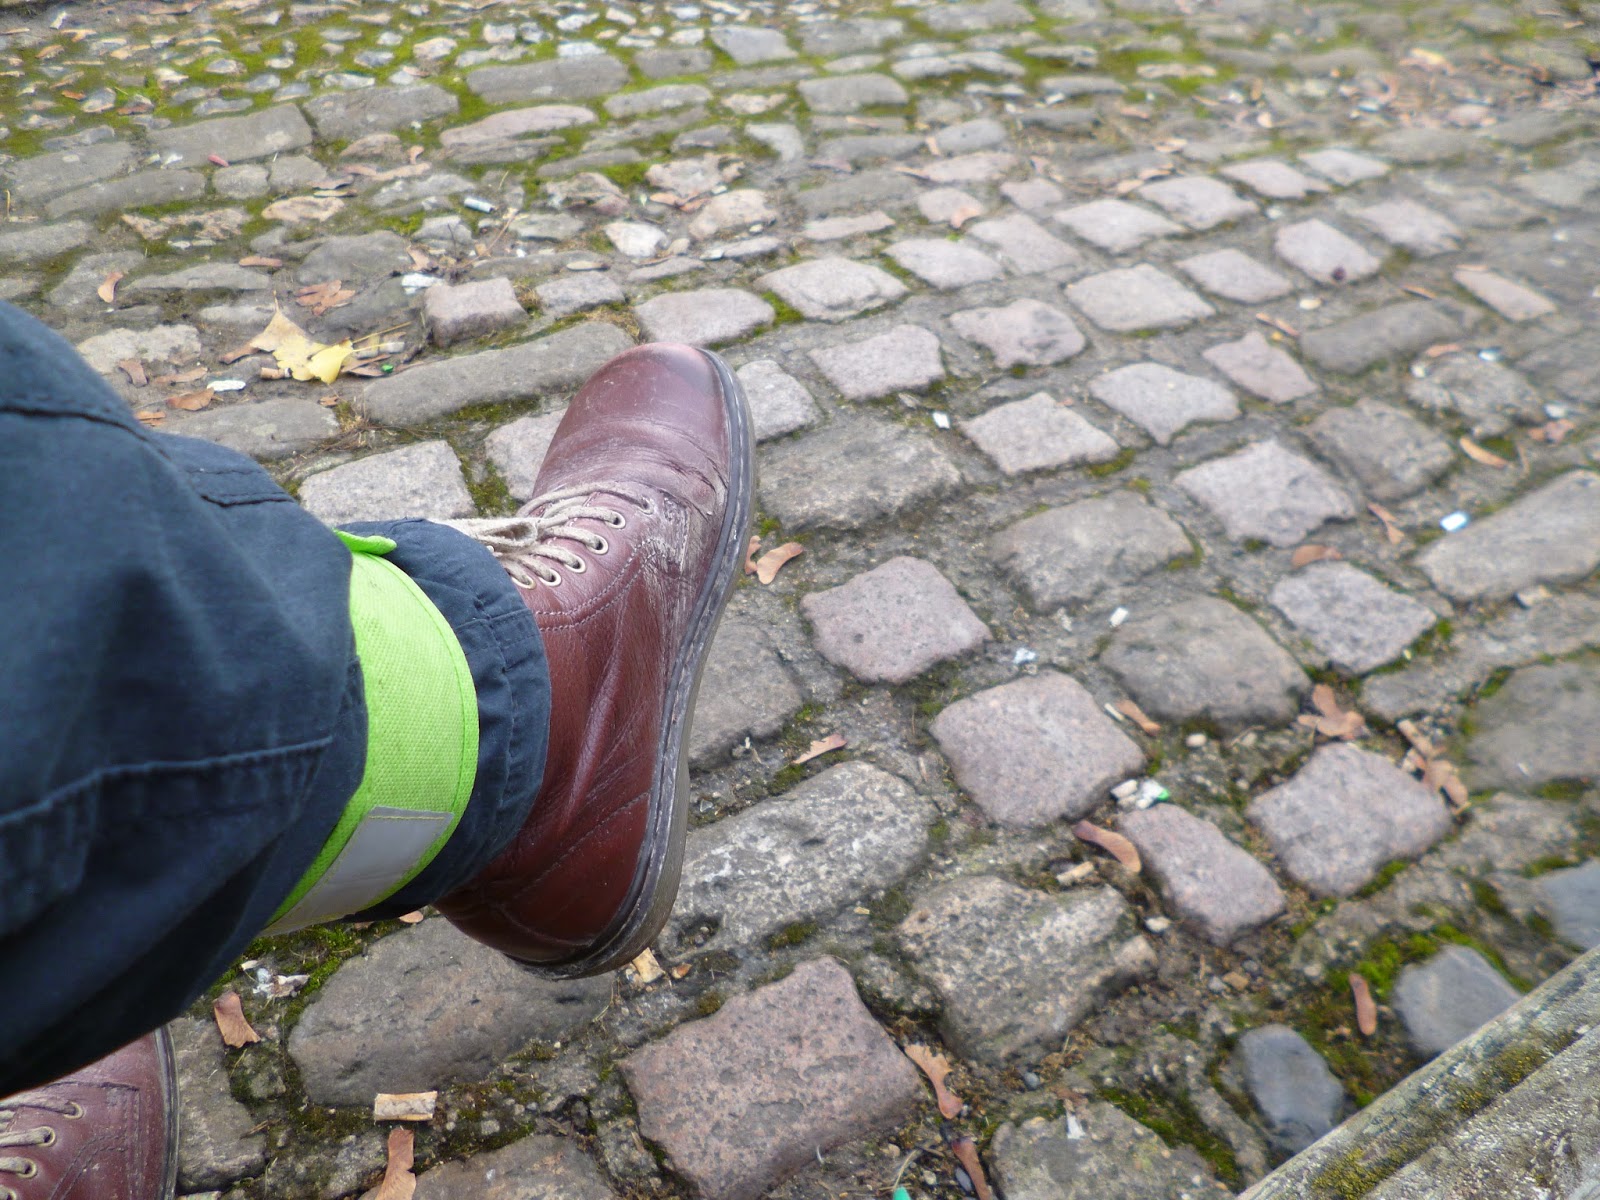
I took this pic of the cobbles and stuck my booted foot in as well, which was a good job as I later realized I hadn't taken the pic of my bike as proof that I'd cycled. Would I go around with those home made green things round my ankles if I wasn't cycling? (I think my children might say - "yes Mother, you would......")


This is on my route home, looking back the way I've come, where the old road is forded by Letcombe Brook.


And there's my bike!!


I want to try and keep up the cycling this winter and this Coffeeneuring Challenge has definitely helped to make me get out on my bike. I admit I won't cycle when there's ice on the roads, but any other kind of bad weather is bearable and even enjoyable as long as you've got the right clothing. You know what they say - there's no such thing as the wrong weather, only the wrong clothing.

A round trip of just over 14 miles.

Tomorrow, and #7 - awful weather is forecast! Will I eat my words.....

Lizzie

Thursday, November 3

Coffeeneuring 2016 #4

Just a short post, partly to give a shout out to Corner Coffee at Childrey, near Wantage here in Oxfordshire. I have been meaning to try this cafe ever since it opened not long ago, but when I'm going past I'm usually either on my way to go shopping, or on my way home afterwards and can't stop.

So today, it being a lovely sunny though very chilly morning, and despite having the remains of my first cold in about 6 years, I rode off with my pockets stuffed full of tissues to buy some eggs (forgot them while shopping yesterday, slap on wrist from Husband....) at a local farm. There was a good hill en route; I did struggle up it (my excuse is not being up to full strength after the worst of my cold) but flew down it at 25.9 mph.

And then I had coffee and the most delicious triple choc buckwheat (gluten free as it happened) cookie at Corner Coffee. It's a really lovely little cafe with plenty of outdoor space - blankets provided for cold weather! - even if not a lot indoors. They do home made soup as well. It's not on Facebook but is on Instagram here.


Gill the owner does some hand made local goods too. AND - the really good news is, that she is taking over the village shop next year and the cafe will be there, and it sounds like she has a lot of good ideas for the place. It was quite a large shop back in the 1980s, but then got chopped in half, and later lost its Post Office too. So this is excellent news -  new life for a village shop!

A tiddler of a trip today - only 5.9 miles.

Lizzie


Monday, October 31

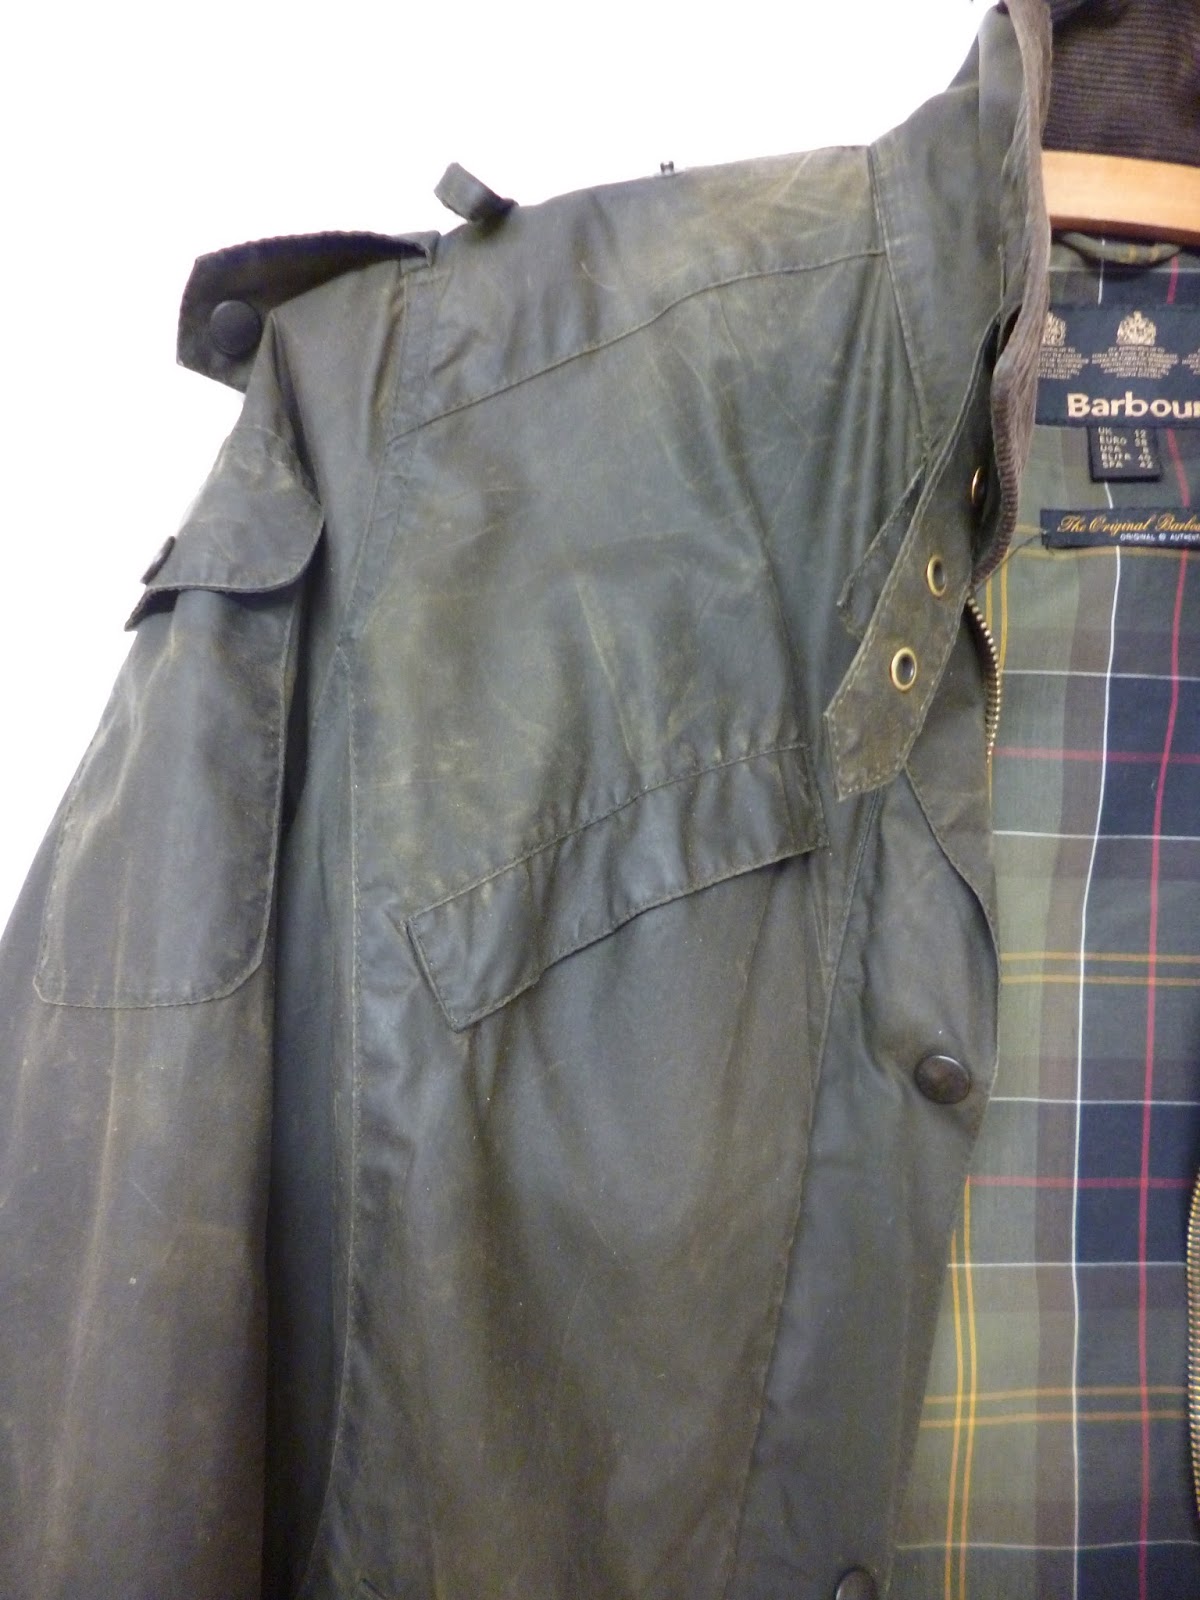
Barbour jacket - repairing and re-waxing.


This is undoubtedly my most expensive item of clothing! I treated myself to it in 2011 and it cost £211. I love it for its style and utilitarian practicality (lots of pockets!) and the fact that's it's cotton and therefore breathable. I think it's the sort of thing that you can wear anywhere at all and you won't look out of place (not that I care much about looking out of place!!!). I can stuff it in my rucksack or bike panniers and it doesn't take up too much space and is very lightweight. It's Barbour's Amelia Flyweight although I can only find it on an American website now so it looks as if they don't do this one any more.

I've worn it and worn it but only re-waxed it once before. I decided it was time for another re-waxing (actually it was well overdue) after a very wet walk last month reduced it to this state -


The back is the worst.


When I looked it over properly I found that it also needed mending. It had a rip on the back, probably either caused by a thorn or more likely barbed wire (I do tend to crawl through barbed wire fences at times...) -


and this hole and tear on one sleeve -


and this tear on the cuff of the other sleeve. These small tears are actually just where the fabric has worn out on the crease -


For some reason unknown even to me, I decided that mending the holes and rips by stitching would be too tricky - lots of unpicking of seams involved - and so I sent off for some Stormsure glue, which I came across on this YouTube video, intending to copy the methods of mending shown there, but when the glue came I had another look at the jacket and thought - "there really isn't much unpicking involved. And I'd always rather sew than glue if possible." So, unpicker in hand, I set to work. (I'm sure the glue will come in handy for other things though).

I should add that prior to any of this I had wiped the jacket all over with a sponge and cold water (Barbour's instructions) to clean it, and also tried to get some of the creases down the front out, by ironing, using a cloth under the iron. It didn't work - I think the creases are just too old.

Creasing down the front facing

Now we have a picture of the canvas from Husband's boyhood tent. Eh? Why? Because - during our clearout prior to moving I found this ancient tent in our outhouse (been there 32 years...). I said to him - can I cut this up? In typical man fashion he rather reluctantly agreed (what else was he going to do with it????) so before he could change his mind I chopped it up and washed the bits at 60 degrees, thinking that if it was going to fall apart a good hot wash would make it do so, but it didn't, and I now have the pieces in my much-reduced-before-moving fabric stash. Anyway, this was what I used tiny pieces of behind the holes and rips in the jacket. It was just the right weight and I knew that the colour wouldn't show after stitching.


This is the rip on the back, with lining unpicked and piece of tent canvas in place -


I used strips of Steam-A-Seam to hold the patch in place. 


 The rip after mending -


I did the other mends in the same way, unpicking the lining, patching on the wrong side and then stitching on the right side. The thread by the way wasn't a perfect match, but I reckoned that by the time I'd rewaxed the jacket this wouldn't show.

Mend in cuff  -


Mend on sleeve - 


After restitching the lining, I did the re-waxing, which actually took me an hour and forty minutes......They say do it in a warm room - well the room wasn't warm and to be honest I think it would have to be JOLLY warm in order for the melted wax not to solidify pretty soon after applying it, which it did. They also say use either a cloth or a sponge; I used bits of old cloth but can see why using a sponge would be the better option, as I can see tiny bits of fluff from the old white cloth on the jacket. I think the wax might work into the fabric better with a sponge too. However, I'm pleased with the overall results, as shown below.

Mend on back

Sleeve

Cuff

After re-waxing I went over the jacket with a heat gun (we haven't got the recommended hair dryer) which evens out the wax, and then left it overnight. However in the morning I could see that there were still tiny lumps of excess wax on it, particularly at the seams, so I went over it again with the heat gun and wiped off the excess. Result!


The finished article - 


Remember the "before" picture of the back? A lot better now!


This WAS a lot of work, but well worth doing.  Here's an interesting article on Barbour's repair shop oop north.  I'd love to go there! Wonder if they do Open Days....

Lizzie