
This is undoubtedly my most expensive item of clothing! I treated myself to it in 2011 and it cost £211. I love it for its style and utilitarian practicality (lots of pockets!) and the fact that's it's cotton and therefore breathable. I think it's the sort of thing that you can wear anywhere at all and you won't look out of place (not that I care much about looking out of place!!!). I can stuff it in my rucksack or bike panniers and it doesn't take up too much space and is very lightweight. It's Barbour's Amelia Flyweight although I can only find it on an American website now so it looks as if they don't do this one any more.
I've worn it and worn it but only re-waxed it once before. I decided it was time for another re-waxing (actually it was well overdue) after a very wet walk last month reduced it to this state -

The back is the worst.

When I looked it over properly I found that it also needed mending. It had a rip on the back, probably either caused by a thorn or more likely barbed wire (I do tend to crawl through barbed wire fences at times...) -

and this hole and tear on one sleeve -


For some reason unknown even to me, I decided that mending the holes and rips by stitching would be too tricky - lots of unpicking of seams involved - and so I sent off for some Stormsure glue, which I came across on this YouTube video, intending to copy the methods of mending shown there, but when the glue came I had another look at the jacket and thought - "there really isn't much unpicking involved. And I'd always rather sew than glue if possible." So, unpicker in hand, I set to work. (I'm sure the glue will come in handy for other things though).
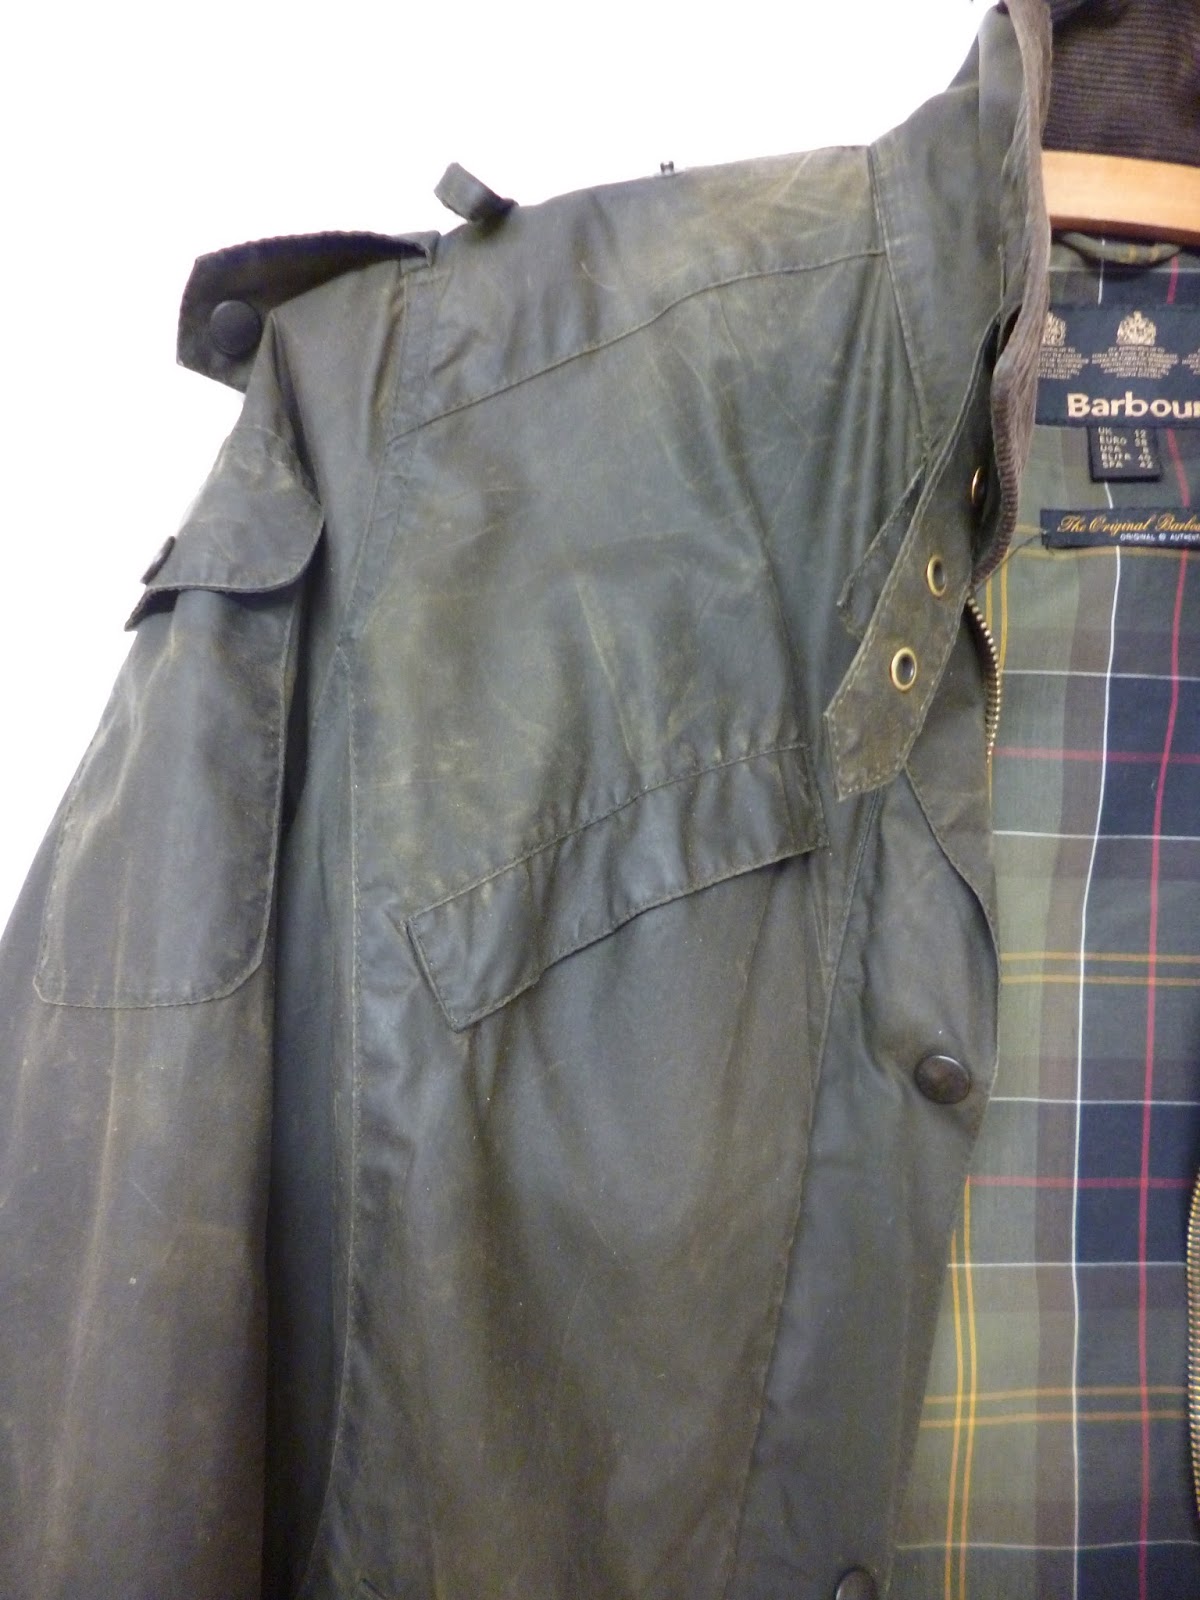
I should add that prior to any of this I had wiped the jacket all over with a sponge and cold water (Barbour's instructions) to clean it, and also tried to get some of the creases down the front out, by ironing, using a cloth under the iron. It didn't work - I think the creases are just too old.
 |
| Creasing down the front facing |
Now we have a picture of the canvas from Husband's boyhood tent. Eh? Why? Because - during our clearout prior to moving I found this ancient tent in our outhouse (been there 32 years...). I said to him - can I cut this up? In typical man fashion he rather reluctantly agreed (what else was he going to do with it????) so before he could change his mind I chopped it up and washed the bits at 60 degrees, thinking that if it was going to fall apart a good hot wash would make it do so, but it didn't, and I now have the pieces in my much-reduced-before-moving fabric stash. Anyway, this was what I used tiny pieces of behind the holes and rips in the jacket. It was just the right weight and I knew that the colour wouldn't show after stitching.

This is the rip on the back, with lining unpicked and piece of tent canvas in place -

I used strips of Steam-A-Seam to hold the patch in place.


I did the other mends in the same way, unpicking the lining, patching on the wrong side and then stitching on the right side. The thread by the way wasn't a perfect match, but I reckoned that by the time I'd rewaxed the jacket this wouldn't show.
Mend in cuff -

Mend on sleeve -

After restitching the lining, I did the re-waxing, which actually took me an hour and forty minutes......They say do it in a warm room - well the room wasn't warm and to be honest I think it would have to be JOLLY warm in order for the melted wax not to solidify pretty soon after applying it, which it did. They also say use either a cloth or a sponge; I used bits of old cloth but can see why using a sponge would be the better option, as I can see tiny bits of fluff from the old white cloth on the jacket. I think the wax might work into the fabric better with a sponge too. However, I'm pleased with the overall results, as shown below.
 |
| Mend on back |
 |
| Sleeve |
 |
| Cuff |
After re-waxing I went over the jacket with a heat gun (we haven't got the recommended hair dryer) which evens out the wax, and then left it overnight. However in the morning I could see that there were still tiny lumps of excess wax on it, particularly at the seams, so I went over it again with the heat gun and wiped off the excess. Result!
The finished article -

Remember the "before" picture of the back? A lot better now!

This WAS a lot of work, but well worth doing. Here's an interesting article on Barbour's repair shop oop north. I'd love to go there! Wonder if they do Open Days....
Lizzie
Barbours original factory was in my home town and i remember that all the motorcycle lads started to wear them. This was back in the 60's before they were so popular. You have dona a really good job. Well done.
ReplyDeleteThank you!
DeleteHi Lizzie, I have a waxed riding coat that was quite mucky from being hung up in the garage where my other half does lots of dust producing bike restoring. The dust stuck the coat big time, sponging wouldn't have shifted it so I chucked it in the washer before rewaxing it. I put the wax (not in the tin) in the microwave on the lowest setting to melt it a bit, then used a shoe brush to work it into the fabric. Then finished off with the hairdryer. The coat came up really well. You have done a good job with yours especially the darning. Sharon x
ReplyDeleteJust goes to show - Barbour tells you not to wash their waxed coats, but I'd do the same as you did if I thought it was the only way to refurbish it. Nothing ventured, nothing gained!
DeleteHowdy! This is kind of off topic but I need some advice
ReplyDeletefrom an established blog. Is it very difficult
to set up your own blog? I'm not very techincal but I can figure things out pretty quick.
I'm thinking about creating my own but I'm not sure where
to start. Do you have any tips or suggestions? Thanks
In reply to Anonymous, I don't consider myself at all technical either, but I can follow instructions. It took me hours to set up this blog and I'm sure it has its technical faults. I wish I had someone more techie than me to advise me! I would just suggest watching Youtube videos, and reading up any articles you can find on how to set one up. Have a look at Wordpress and Blogspot and just start the process of setting one up. Keep it simple. If I can do it you can!
ReplyDeleteI've had a Barbour jacket for about three years and worn it a heck of a lot outdoors. Mine was more worn than yours with more tears and completely worn cuffs and bottom hem. I have completely refurbished mine. I bought a yard by yard and a half of 6 0z waxed, olive cotton on ebay for about six quid, and made some patches which I sewed onto the jacket and around the whole of the lower hem of the coat. It looks surprisingly good since I am no tailor.... By the way, for sewing thick parts, you want one of those sailmaker's awl things. I fitted a stout sewing machine needle into the tool handle. I tried hand sewing through the cuffs first, and hems and doubled over patches and it was REALLY tough going, which is why the sailmaker's tool is needed. I got one from China for about £3. I did a lock stitch and the patches and hems are now stronger than ever they were. Each stitch is knotted. I found a video on youtube that showed how to use a stitcher called easy stitch and although I used a cheaper version, the lock stitch technique is the same.
ReplyDeleteWhen people re-wax, they usually put the tin of wax into a saucepan with water in (lid off tin) and heat up the water. It is less likely to go on fire that way!!. Get the wax hot, then apply it with a small dish washing sponge and work it in with the sponge while playing a hair drier on the coat. As the cloth gets hot the wax sinks into the fibres.
Thank you for the comments and tips - I will definitely be putting the tin of wax into hot water next time. I was only thinking the other day that it will probably need re-doing soon. And yes I've come across those sailmakers' stitchers before though I can't remember why I was looking at them.
ReplyDeleteWhat type of needle did you use for your repair? Did you stitch by hand? What kind of stitch? Thanks for your great post. I have an old second hand Border model that has a rip that needs repair. You’ve just about given me the confidence to take it on myself. Sending it to Barbour for repair would probably cost me as much as I paid for the coat.
ReplyDeleteIt's not difficult so go for it! I did it on my sewing machine, using just a standard needle and cotton thread and a fairly small stitch. I really need to re-wax it again, though it doesn't need any more repairs. Although it cost a lot it's been well worth the money, as it's still going strong and I still like it.
ReplyDeleteNice jacket.
ReplyDeleteThank you - it's still going strong after 13 1/2 years, but it badly needs repairing and re-waxing again.
DeleteVery well done! I admire your stitching skills. I've seen videos where they use glue, but your work is superior to them.
ReplyDeleteThank you!
DeleteThis is really helpful, I wasn't sure about unpicking for under-patching, I too have to crease wear hole in the sleeve, and this gives me confidence to try. Great post.
ReplyDeleteThank you! This was a big part of why I started a blog in the first place - to inspire, encourage and help others.
Delete