
This is undoubtedly my most expensive item of clothing! I treated myself to it in 2011 and it cost £211. I love it for its style and utilitarian practicality (lots of pockets!) and the fact that's it's cotton and therefore breathable. I think it's the sort of thing that you can wear anywhere at all and you won't look out of place (not that I care much about looking out of place!!!). I can stuff it in my rucksack or bike panniers and it doesn't take up too much space and is very lightweight. It's Barbour's Amelia Flyweight although I can only find it on an American website now so it looks as if they don't do this one any more.
I've worn it and worn it but only re-waxed it once before. I decided it was time for another re-waxing (actually it was well overdue) after a very wet walk last month reduced it to this state -

The back is the worst.

When I looked it over properly I found that it also needed mending. It had a rip on the back, probably either caused by a thorn or more likely barbed wire (I do tend to crawl through barbed wire fences at times...) -

and this hole and tear on one sleeve -


For some reason unknown even to me, I decided that mending the holes and rips by stitching would be too tricky - lots of unpicking of seams involved - and so I sent off for some Stormsure glue, which I came across on this YouTube video, intending to copy the methods of mending shown there, but when the glue came I had another look at the jacket and thought - "there really isn't much unpicking involved. And I'd always rather sew than glue if possible." So, unpicker in hand, I set to work. (I'm sure the glue will come in handy for other things though).
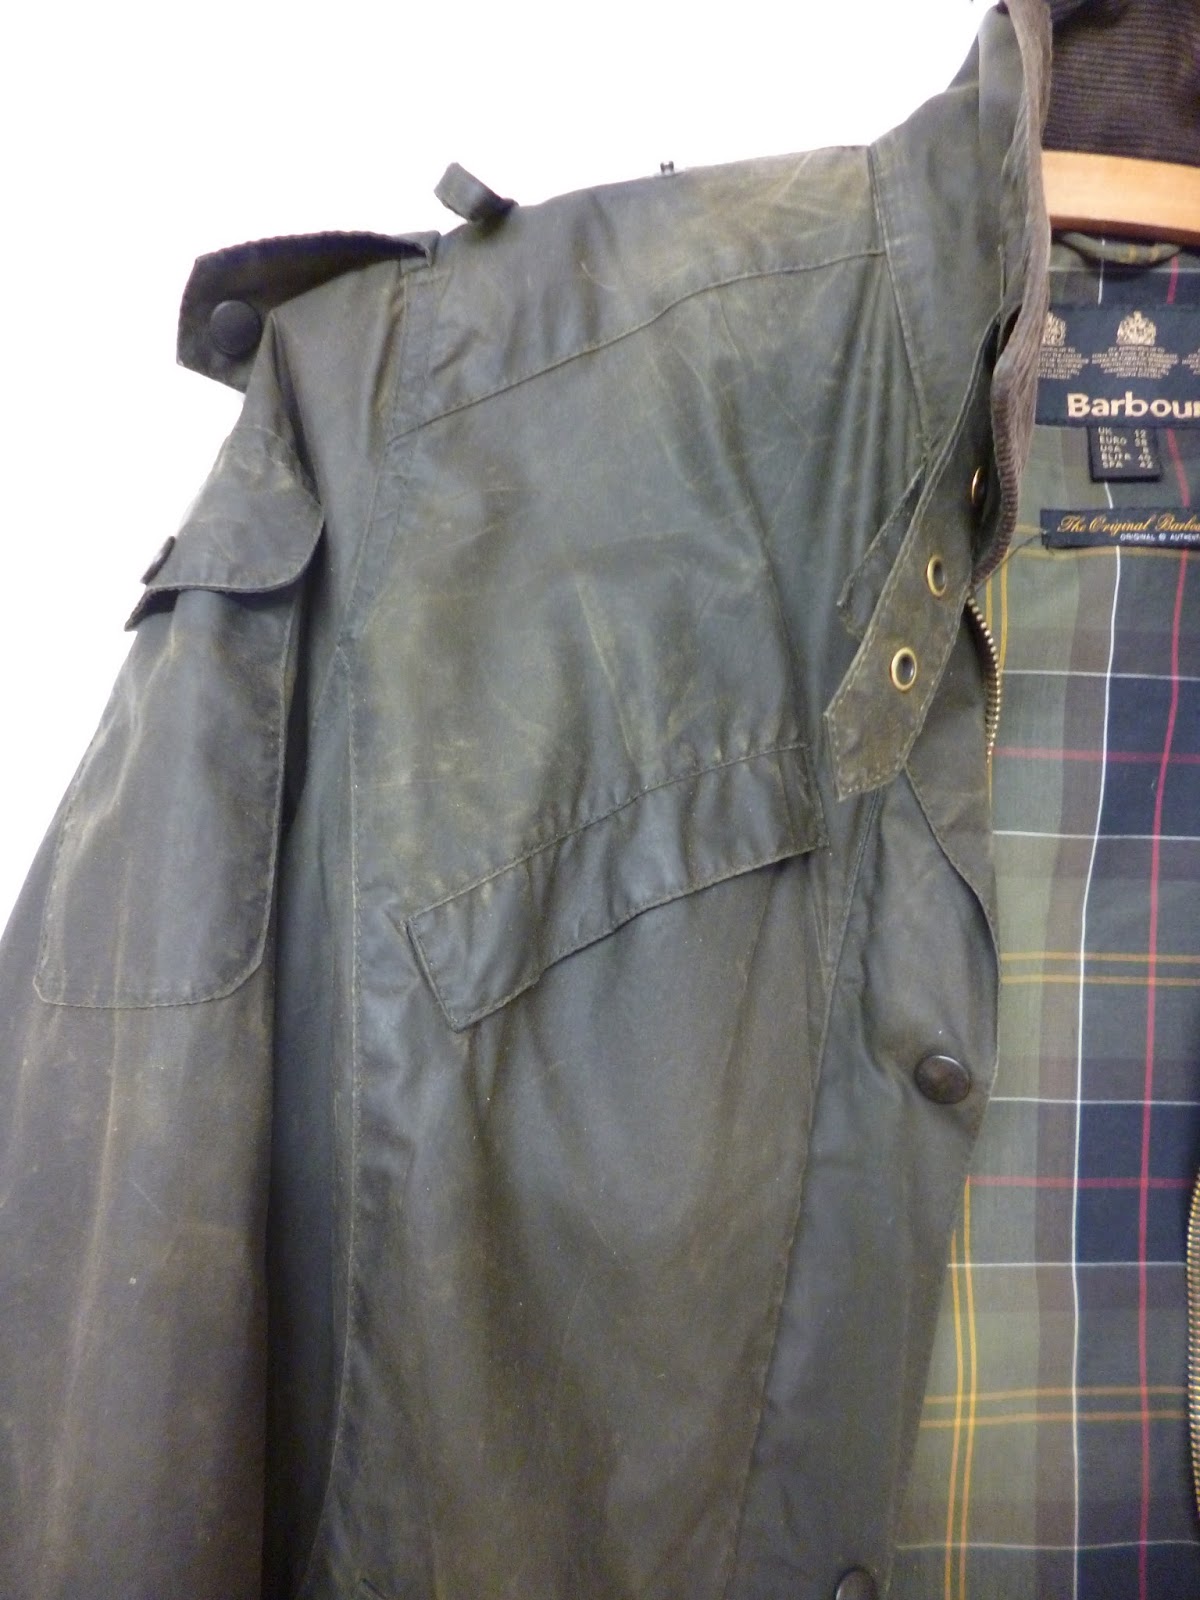
I should add that prior to any of this I had wiped the jacket all over with a sponge and cold water (Barbour's instructions) to clean it, and also tried to get some of the creases down the front out, by ironing, using a cloth under the iron. It didn't work - I think the creases are just too old.
 |
| Creasing down the front facing |
Now we have a picture of the canvas from Husband's boyhood tent. Eh? Why? Because - during our clearout prior to moving I found this ancient tent in our outhouse (been there 32 years...). I said to him - can I cut this up? In typical man fashion he rather reluctantly agreed (what else was he going to do with it????) so before he could change his mind I chopped it up and washed the bits at 60 degrees, thinking that if it was going to fall apart a good hot wash would make it do so, but it didn't, and I now have the pieces in my much-reduced-before-moving fabric stash. Anyway, this was what I used tiny pieces of behind the holes and rips in the jacket. It was just the right weight and I knew that the colour wouldn't show after stitching.

This is the rip on the back, with lining unpicked and piece of tent canvas in place -

I used strips of Steam-A-Seam to hold the patch in place.


I did the other mends in the same way, unpicking the lining, patching on the wrong side and then stitching on the right side. The thread by the way wasn't a perfect match, but I reckoned that by the time I'd rewaxed the jacket this wouldn't show.
Mend in cuff -

Mend on sleeve -

After restitching the lining, I did the re-waxing, which actually took me an hour and forty minutes......They say do it in a warm room - well the room wasn't warm and to be honest I think it would have to be JOLLY warm in order for the melted wax not to solidify pretty soon after applying it, which it did. They also say use either a cloth or a sponge; I used bits of old cloth but can see why using a sponge would be the better option, as I can see tiny bits of fluff from the old white cloth on the jacket. I think the wax might work into the fabric better with a sponge too. However, I'm pleased with the overall results, as shown below.
 |
| Mend on back |
 |
| Sleeve |
 |
| Cuff |
After re-waxing I went over the jacket with a heat gun (we haven't got the recommended hair dryer) which evens out the wax, and then left it overnight. However in the morning I could see that there were still tiny lumps of excess wax on it, particularly at the seams, so I went over it again with the heat gun and wiped off the excess. Result!
The finished article -

Remember the "before" picture of the back? A lot better now!

This WAS a lot of work, but well worth doing. Here's an interesting article on Barbour's repair shop oop north. I'd love to go there! Wonder if they do Open Days....
Lizzie