
Back in 2017 I made this messenger bag -

which was a very useful one, and which I could handily stuff into my panniers went I went shopping on my bike. However, it was never quite big enough - it needed to be about an inch wider - so I decided to make a bigger one. That first bag was made from a jacket which I'd bought in a charity shop, but with them all being shut at the time I had to bite the bullet and buy brand new fabric. Actually that was quite a treat for me! I ordered a metre of waxed cotton (which looks black but is actually very dark green) from Point North, at the reduced price of about £8, and made this bag -


However, because I changed my mind half way through about how I was going to construct it, partly in order to be able to attach the little pocket on the side more easily, it ended up too big..... I knew I was never going to be happy with it, so I unpicked it all and made this one, which is much better, but I left off the small pocket -

 |
| Space for the glasses at last |
 |
| Dog clip for extra security |
You can actually get a lot out of a metre of fabric (I think it was 150cm wide) so then I also made this roll-top rucksack -

I like the simplicity of a roll-top fastening. I didn't have very suitable webbing for the straps so had to cut a wide one in half lengthways, so that I had enough for two, and then bind the raw edge with grosgrain tape (another recent favourite of mine). It does the job! The fastening is made from a belt from an old favourite Craghopper's skirt. I left the skirt behind in our B and B on holiday once, and when I rang up about it, mysteriously it had never been found....
Then, for my 5l rucksack -

I made this extension -

 |
| Folds up small. |
I find that although the rucksack holds enough for a day's walk, if I remove a jacket or jumper then there's really no space for that. I made a pattern from the rucksack, and added loops to the extension and some extra ones to the rucksack itself. The fabric came from a free windbreak, and the zip from a bag I had picked up in the verge one day. (Husband gets quite embarrassed about my picking things up when we're out together, and sometimes says "You're NOT picking that up!") I think the yellow cord was free from somewhere too!
Then Husband said one day that he could do with a bottle holder to hold the 250 ml bottle (Nalgene, we both use them in this size) that he often takes out on a walk. He wanted it to attach to his belt. So, using fabric saved from old panniers and some ripstop (more new fabric from Point North) I made this -

 |
 |
| The bottom was very difficult to get right |

I actually took enormous care to line up the seam, but the ripstop moved, hence the misalignment. I couldn't use the new roller foot I'd bought, in that position, so couldn't stop the fabric moving. When you make something that you've designed yourself then it's only when it's finished that you realize how to make it better, and if I make another one I'll put the seam somewhere else as I don't like it there (even if it were lined up properly! So we'll call this a prototype.... Husband was pleased with it though!
And one last thing! some time ago, I bought a brand new camera bag from a charity shop, for about £3, thinking I could flog it for a fortune (it has worked for me sometimes!). However, it didn't sell, so I unpicked every bit of it and ended up with a lot of webbing, various fastenings, big bits of Velcro, a good zip, and some bits of fabric. There was a zipped mesh pocket inside the bag, and I kept that whole. It has now become the reverse of this little pouch, which I intend to use for first aid and other essentials on my bike, or in my rucksack -
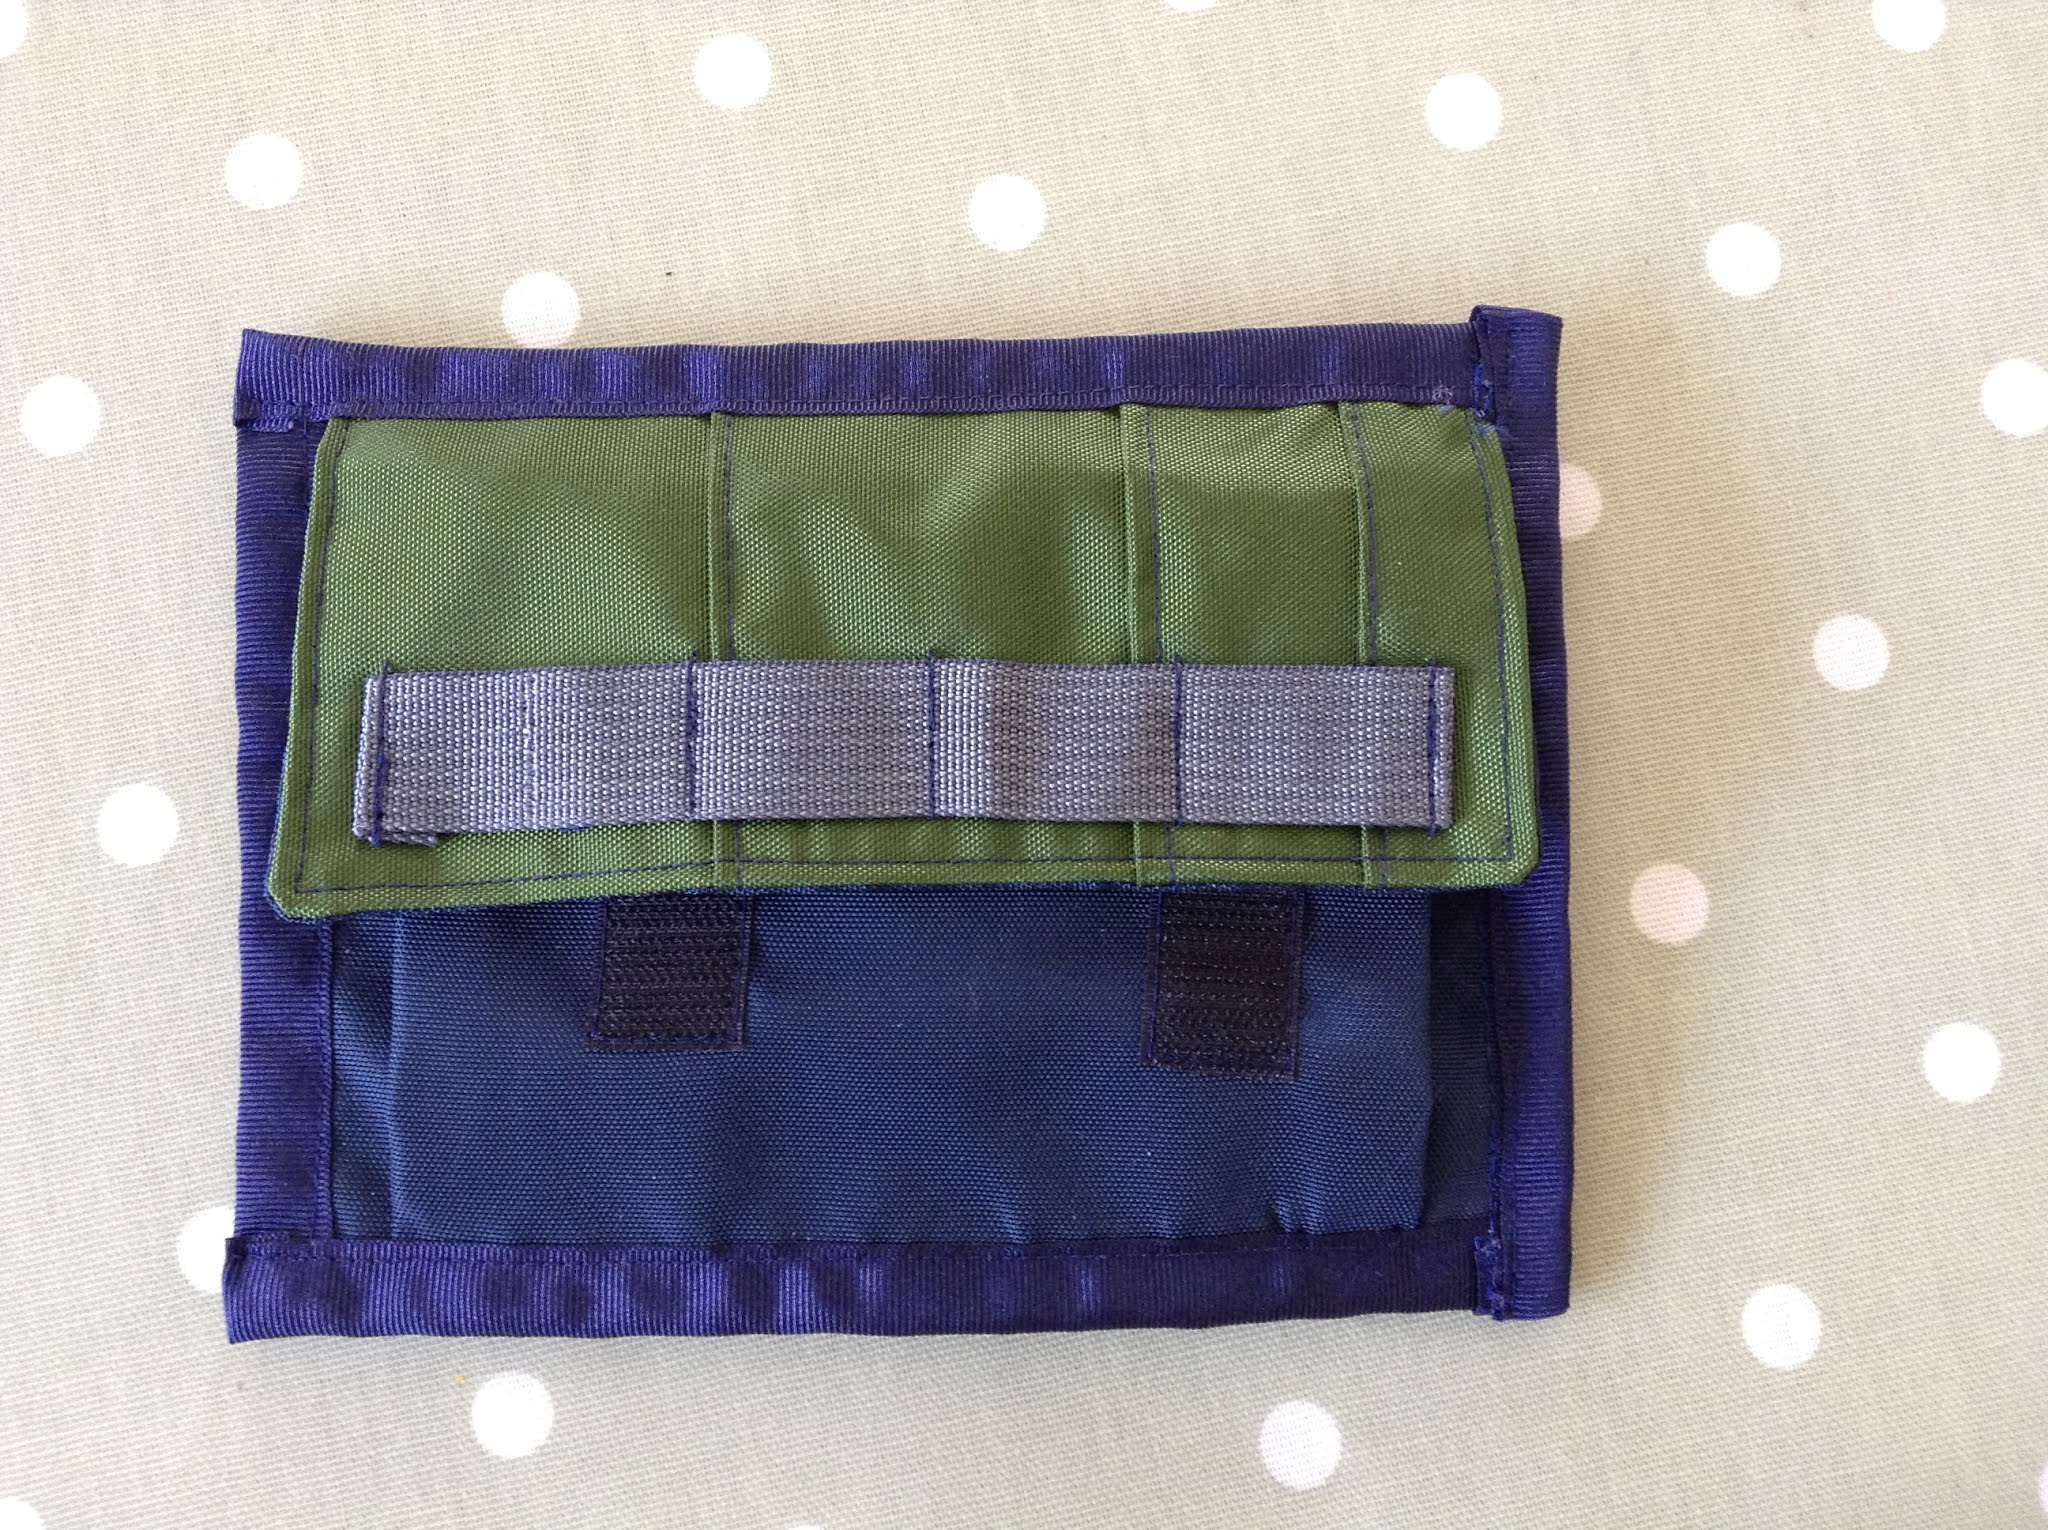 |
| Front |
 |
| The salvaged mesh pocket |
 |
| Pleated pocket |
Please don't look closely at the corners - they are not neat! I need to practise corners on binding. but I'm pleased with this and it will be really useful.
I have some other similar projects in the pipeline, but something for grandchild number 6 (that will be our third in 6 months!) due very soon, now takes priority.
Lizzie, so delightful to see another posting from you! You've been quite busy repurposing and creating useful bags. Buying new material is something I also do - not everything in our stash will suffice for certain projects, and as you figured out it can lend itself for further ideas. :)
ReplyDeleteHere's a pattern for stem bags that's quite versatile (easy to enlarge too) and has a square bottom - easier to sew.
https://bikepacking.com/gear/make-your-own-stem-bag/
And my bags, using this pattern:
https://anniebikes.blogspot.com/2020/12/more-diy-stem-bags-get-creative.html
Congratulations on all the grandchildren!
Thank you Annie, and thank you for the links - so useful! I think I'd already seen the Bikepacking bag but had completely forgotten it and it is indeed probably much easier to make with the square bottom. I think I'll be trying that one out. The fact that the bag I made was pretty small was what made it even more difficult.
DeleteI'm sorry not to have commented on your blog recently - I shall head over there right now and have a look at what you've been up to. It's not having that email reminder - makes me lazy!
Each of my children would have loved the last bag - so much fun to un zip and in-Velcro! They wouldn’t have appreciated it until they were toddlers though.
ReplyDeleteLove the bags - you must have a very strong (industrial?) machine. Mine is a terrific machine but it does not like multiple layers of thick fabrics.
Yes - granddaughter number 3 who is nearly 2 spent several minutes doing exactly that! They don't need expensive toys.... No, I don't have an industrial machine, though I have a hankering for one! None of these projects involved very thick layers - I used my Singer 201 and Bernina 801 Matic. The Singer is the better choice if I do sew multiple layers.
DeleteAwesome bags! And each of my children (now almost all grown up) would have loved playing with the last bag.
ReplyDeleteAll the best for the next grandchild.
Lizzie, good job on the bags. A little tip I learnt doing my fairly new part time job mending horse rugs (using an awesome industrial machine), for the ends of webbing, burn them with a lighter, this stops them fraying so no need to do anything with them.
ReplyDeleteYes, I do this sometimes (also with paracord) but also like the look of a turned under edge. Would love to have news and info on the industrial machine!! As I said in a comment above, I have a hankering for one. No idea where I'd put it though!
DeleteIts an awesome machine, a real beast super fast but changing the belt did slow it down a tad so I keep my finger ends. Its got a walking foot on it, it will sew through loads of layers but its rubbish on just a couple of thin layers, it throws the tension out. Its a Seiko machine. I will try and do a blog on it so you can see what it looks like.
DeleteWill look forward to a blog post on it!
Delete