Tuesday, November 3

More cot pockets


These cot pockets, with knitted bunnies and Peter Rabbit, are awaiting the occupant-to-be of this cot, due about a week before Christmas. However I suspect they will have a longer wait......I was late with all 4 of mine, the mummy-to-be in question (our number 3 offspring) being the tardiest arrival at 15 days late. 

I remember the midwife at our local hospital where she was born washing off the placenta under the tap, examining it, and telling us that there were white spots on it, which apparently is a sign of its deterioration. Daughter was fine though. The other 3 were 11 days late (no.1, boy, 8 lb 12 oz), 6 days late (no.2, girl), and 10 days late (no. 4, boy, 8 lb 15 1/2 oz) ). Number 2 would probably have been later, but they said I was "small for dates" and so wouldn't let me go any longer, and broke my waters to start me off. The doctor apologised for all the worry they had given us when she weighed in at 7 lb 4 1/4 oz. One different doctor had been correct when he said "this baby's deceptive, it's just low down".  You don't forget this sort of stuff!

Anyway, enough of that...

Daughter chose this lovely grey fabric. I actually did yellow stitching round the outside and outlined one of the stars on each pocket in the same colour. The lighting in the picture isn't very good so you can't really see the fabric at its best. I've got a bit left over and am wondering what to make with that. 

Sanderson wallpaper in the background just in case you were wondering! 


Another baby - Alice Margaret, was born to my nephew and his wife in California (don't they get about nowadays. My eldest is in Germany, another nephew is in Singapore) in September. I started off thinking that maybe I'd make more of a drawstring bag, which could be hung on the cot now and could be used as a bag by Alice when she is a bit older, but it turned out as a single cot pocket in the end.


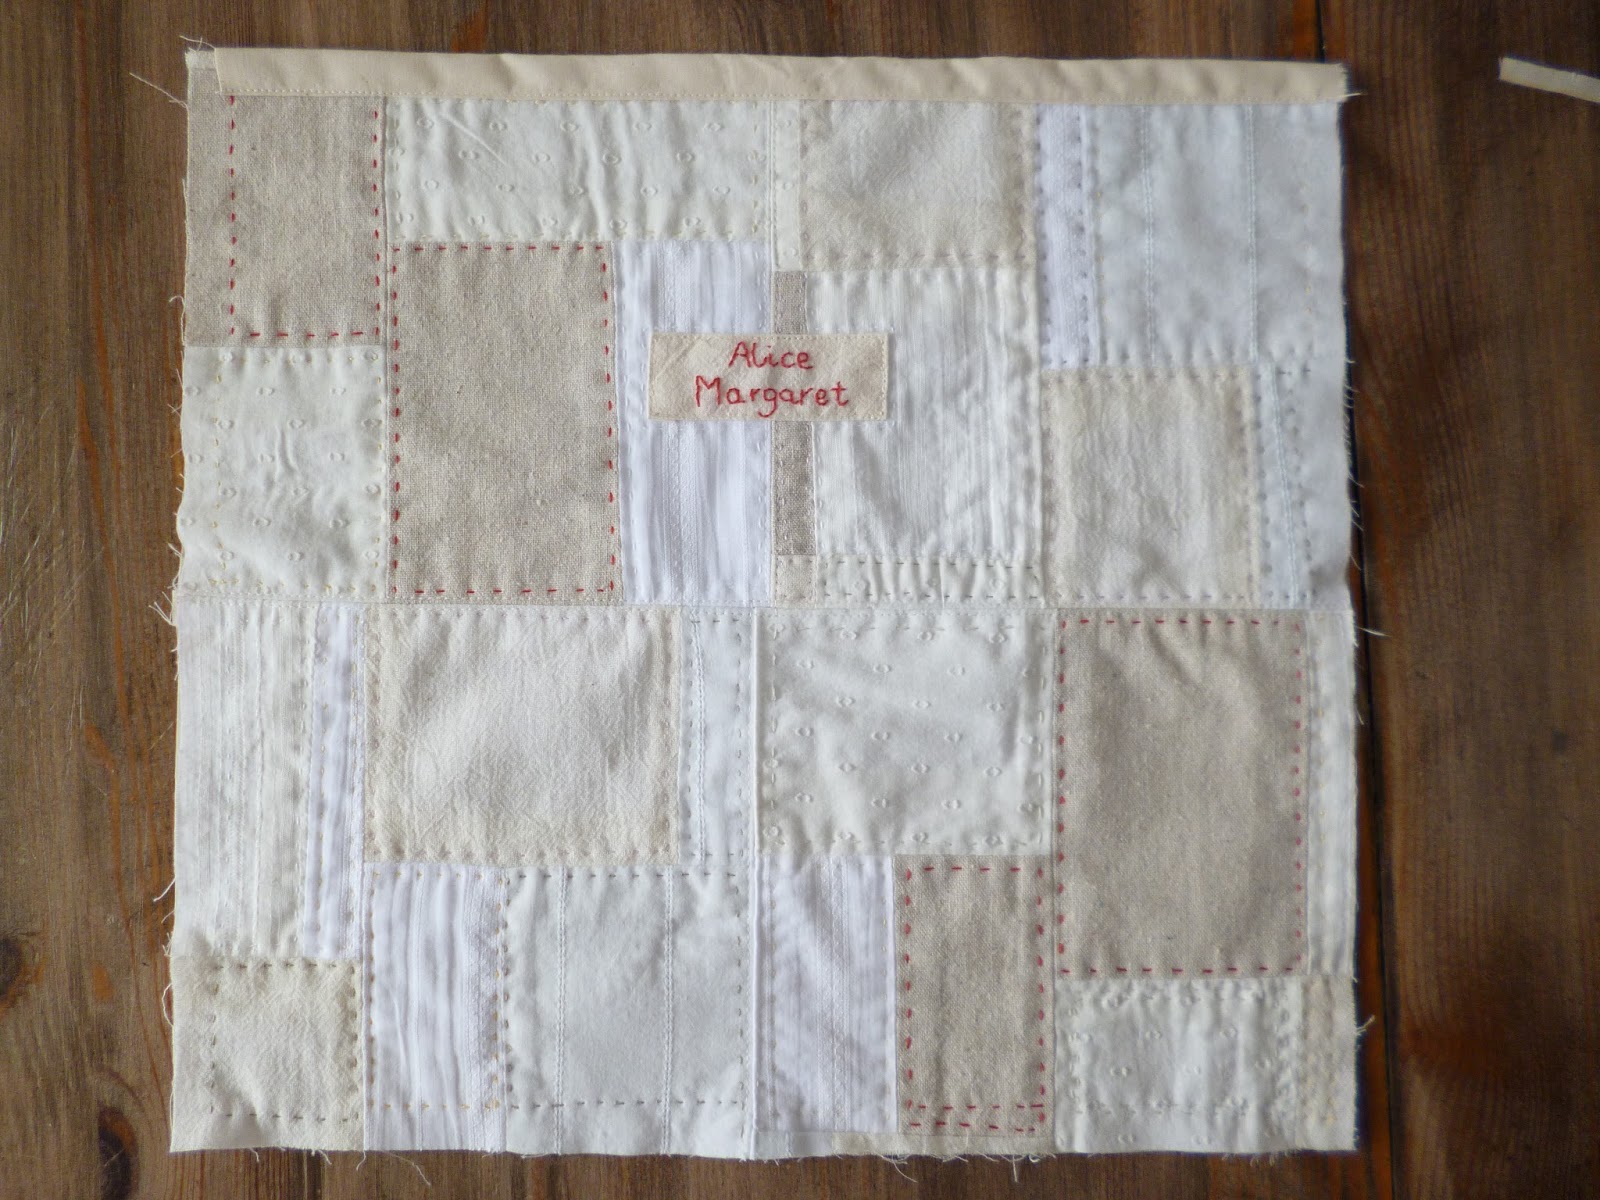
The initial idea I had was to stitch together pieces of white and cream cotton from my collection, and then embroider the name on it in red. The picture below was taken after I had stitched together several pieces in a long line, and then cut them, turned them round, and re-stitched them together to form a square.


I think I cut and re-stitched again before I finally ended up with this piece. I then ironed woven cotton interfacing onto the back.  Incidentally the white pieces with the embroidered strip were left over from making my wedding dress in 1981. It was Swiss cotton, bought from Liberty's at about £8 a yard. I seem to remember the total cost, including buttons and zip, came to £64. I think I've still got the till receipt somewhere!


I embroidered the name onto a piece of calico. I love the combination of red on cream. I was at the Festival of Quilts a few years ago (my sister Kate Dowty is a quilter) and remember seeing some beautiful red on cream embroidery done by an Indian lady. There was a name for the style but I can't remember it.

I then did running stitch round the edge of each rectangle. The fabric where I did the red stitching was osnaburg, a favourite fabric of mine. It's a rough cotton, quite loosely woven. I got it at that same Festival of Quilts from The Cotton Patch.

For the back of the pocket I used a thickish cotton, and interlined it with some sheeting to give a bit more body, and for the lining and the binding at the sides I used calico. The pocket has a pleat at each side so there's lots of room for toys and books. The ties are made from cotton twill tape.

It is now winging its way to California.


I really enjoyed doing this patchwork quilting of sorts - this random joining up of scraps and then chopping and joining and chopping and joining again  to make something bigger, and then the hand stitching on top. I'd love to make a whole garment in this way. But for now I think I will definitely be making more of these cot pockets, and have got one or two more baby ideas up my sleeve.

[BTW, I wanted the text aligned to the left, but despite it doing so as I write and save, when I preview the post the text is centred. Annoying!]

That's all for now.

Lizzie

Friday, October 30

Two weeks and 4 days (at least) to go mouldy!

I couldn't resist posting about this loaf of bread......

We usually eat Vogel's bread, and the occasional spelt loaf either made by me or bought at the local market, but one day nearly 3 weeks ago we had run out. On our way home from a day out there was nowhere close by that sold Vogel's so I had to buy this one from the Co-op. What they had left was all much of a muchness. Husband had sandwiches made from it in his lunch box for a couple of days, and I tried it once for my lunch. That was enough! It was yuck - didn't taste of much at all and the texture was horrible. There was about 3/4 of the loaf left but it really was so awful that I just couldn't bear to eat any more once we'd got some more Vogel's. So I got it out of the bread bin and, er, left it out in the kitchen, while deciding what to do with it........ No smell of mould hit me so I admit it continued to get left.


Yesterday, as I still hadn't noticed any smell of mould coming from it, I had a look to see if there was any.

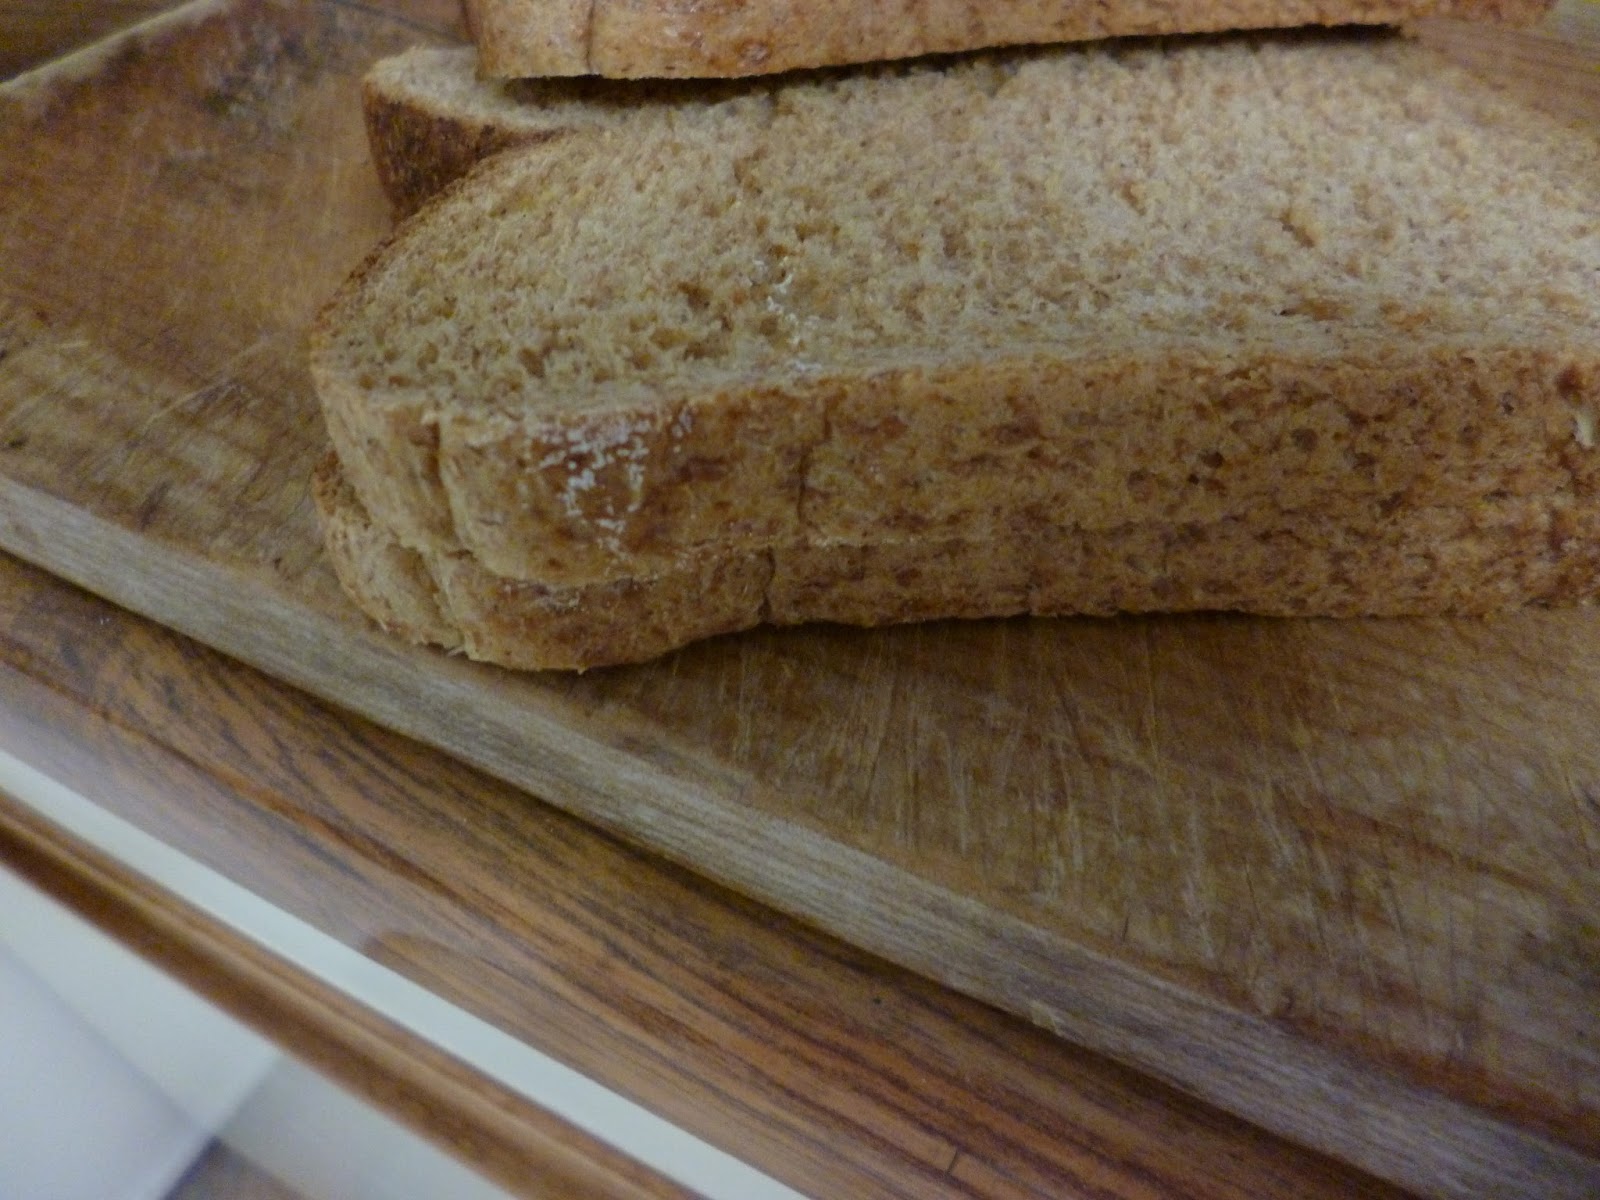
This was all there was after 2 weeks and 4 days AT LEAST! After all, who knows when it was made!

The mould is hard to spot isn't it?!! If I'd left the Vogel's bread for that long it would have been one big heap of mould.


Then I read the ingredients, as obviously stuff had been added to prevent it going mouldy too quickly.


A lot of sliced bread has the same rubbish in it. I don't actually know much about the preservative Calcium Propionate without googling it, but I certainly don't like the idea of eating bread that "keeps" for this long. It is just not natural and that alone puts me off. Some bread is actually advertised as keeping for a long time - these additives are the reason why.

This is the list of ingredients in the Vogel's loaf. No preservatives or emulsifiers.


This loaf usually costs £1.50, although can often be found on offer at less. The Co-op one cost 75p. 


Obviously anyone with a freezer can stop it going mouldy by just taking out of the freezer the number of slices that you will eat in a day or two, and also by storing it under the right conditions. Even if our bread does go mouldy, I don't automatically throw it out - I just cut off the offending mould, and I have never suffered any unpleasant consequences. I did once, though, when as a sort of experiment as much as anything, I tried some yogurt that was 3 weeks past its date.....it did admittedly taste a bit sharp but even then all that happened was a mild tummy ache and a visit to the loo......!

The other day I started to add some cream cheese to a pasta dish I was cooking and it was only after some had gone into what I was cooking that I noticed that some of the cheese still in the container was mouldy, and also that a tiny mouldy bit had gone into the pasta. The rest was OK. Well, I fished out the tiny mouldy bit, did not tell husband, and we ate it and were fine of course. [As I write You and Yours on Radio 4 is talking about wasted food!]

Do you always throw out food which has got mould on it??!!


Bye for now

Lizzie


Tuesday, October 20

Wool jumper converted to cycling top

It was a case of not so much "what this bike needs....." as "what this cyclist needs....." and what this cyclist needed was a wool, full zip close fitting jumper, to be worn over a baselayer and midlayer. Obviously there are hundreds to choose from on the web (and even in real shops!) but they are not cheap. So, while putting away clothes in a drawer recently, I realized I had one too many charity shop men's jumpers. (As an aside, you can always get PLAIN AND SENSIBLE men's wool jumpers in charity shops, but rarely do I see PLAIN AND SENSIBLE women's ones. It's not that I wear "plain and sensible" all the time - it's just that anything that isn't plain and sensible will always have something against it for everyday wear, like baggy sleeves that get in the way of rubber gloves......)

The one-too-many was a colour that doesn't suit me - maroon, so I thought "Hmmmmm, I wonder if I could chop this up the front and put in a zip and take in the sides so it fits more closely and which will then be my ideal go-to winter garment for bike rides?" Might as well have a go.

This is what I did:


I cut the jumper down the middle. Then I pinned and tacked the sides, and also the sleeves both under the sleeve and on the top, so as to make the whole thing closer fitting. I stitched these seams on the sewing machine - I did think about doing them by hand as if I were sewing up a jumper I had knitted, but I thought I might as well just try doing them on the machine. Seems to have worked OK!


I sewed a narrow hem down each side of the front. I knew that I needed to sew something down the fronts to stabilise them before attaching the zip, so I started to attach some grosgrain ribbon (which is what you see on woollen cardigan front bands). However the fabric started to wave, so I decided to stabilise it even more before adding the tape. To do so I used a strip (about 3/4" wide) of iron-on woven cotton interfacing. I love this stuff - I use it much more than the non-woven stuff and even save the tiniest scraps of it, as it has all sorts of uses. 

You can see from the pic that I have also cut the jumper so that it is longer at the back, and curves up at the front. I used the interfacing all round the bottom too, and then hemmed it with bias binding. I was being adventurous, so used yellow.......

Then I sewed the ribbon onto the fronts, and it worked well this time - no waving.


I sewed on the zip, tacking it first as I have found in the past that if you've not very careful when sewing on open ended zips then you end up with the two sides not matching up. Even this time they didn't match up 100% but I have managed to disguise the fact! 

Then I thought "Perhaps I can somehow detract from the maroon-that-doesn't-suit-me", so I dug out an old green cardigan which I had accidentally shrunk ages ago (and which DID suit me) chopped off the front bands and stitched them to the front and round the neck. Plus I did some coloured stitching along the bottom, up the front and round the neck. I'll confess that I also cut out from this same green cardigan the letters LIZZIE and sewed LIZ on one side and ZIE on the other, across the front, but decided that that was a step too far and unpicked them. It made it look like a baseball jacket.


I think you'd be hard pushed to see that the tops of the zip don't quite match up....


or the bottoms.....

I tried it out yesterday on a 20 mile bike ride with Husband. The weather was coolish - one of those days when you're not quite sure what to wear. I had on a long sleeved merino wool baselayer (I wear these all the time in the autumn and winter - what did I ever do without them? wore even more layers - that's what! You might guess that I am a fairly chilly person....) plus a cotton long sleeved top and then my new zip up. On top of that I had on a very lightweight windproof/waterproof jacket and a home made "buff" (made from a child's t-shirt). I was just the right temperature - and inwardly gloated over husband who was a bit chilly in what he was wearing.....

I have got another similar jumper, but in a colour that suits me reasonably well, that I might give the same treatment to, as this attempt was successful. And I shall be keeping my eyes open in the charity shops for more....... We've got a new one in town where all the rails of clothing are either £3 for the good stuff and £1 for the average stuff!!! 

Haven't forgotten about the Aldi clothing review. I'm drafting it.

TTFN

Lizzie